Written By Michael Tobisch
2020-11-05
Really? No, I am joking, but it's not April Fools Day. So what? In this Blog article I am going to explain how to install SQL Server 2019 on Ubuntu, and then using it with DNN. Sometimes you are in need to install SQL Server and IIS (with DNN) on different machines, so why pay a license for the Operating System when you need a database server?
Since the release of SQL Server 2017, Microsoft added support for different Linux systems (Red Hat Enterprise Linux, SUSE Linux Enterprise Server, Ubuntu and Docker Engine) to SQL Server. Some days ago, I said: why not trying this? And after some trial and error, I finally got it to run. So here's what I did.
Download and install Ubuntu Server 20.04.1
To download Ubuntu Server, navigate to ubuntu.com/download/server. Choose option 3 to download the ISO image.
Prepare a Virtual Machine in HyperV
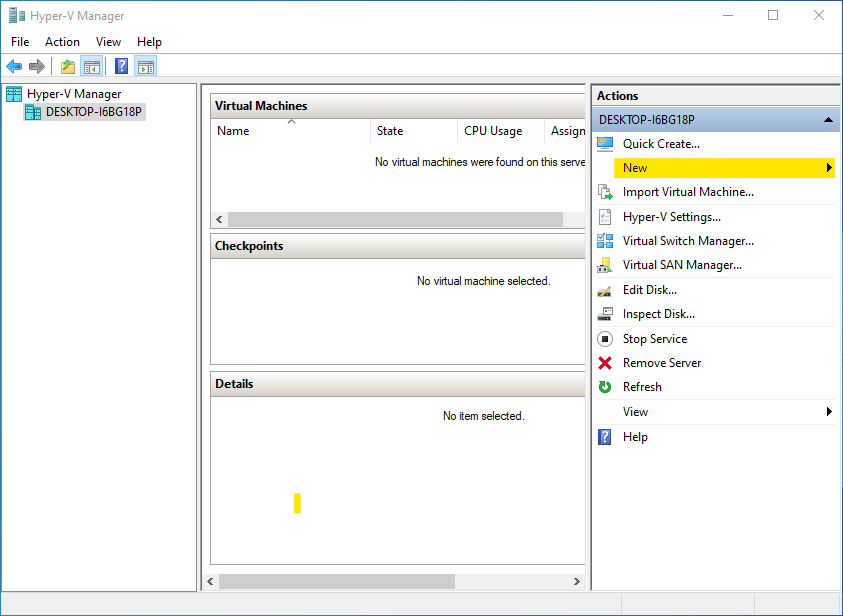
To run Ubunu in a virtual machine, activate HyperV on your PC. You should have enough RAM (say 16 GB), and enough hard disk space. Then start the Hyper-V Manager, click "New..." and then "Virtual Machine".
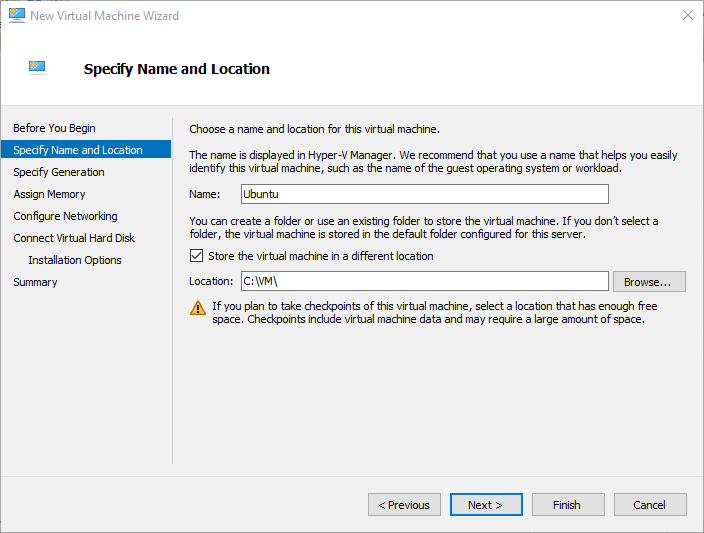
Click the "Next" button, and enter a name for the machine. Optionally select a location where the machine should be stored.
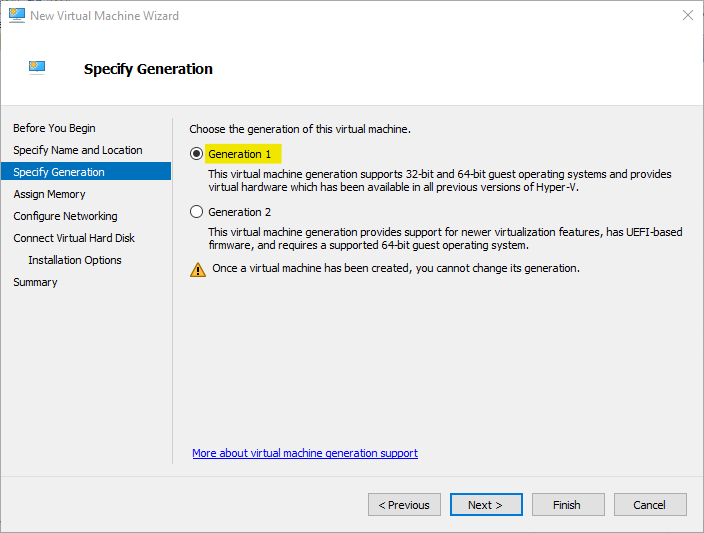
Click the "Next" button, and select "Generation 1". I tried also "Generation 2", but that did not work (I suspect there is no support for UEFI boot).
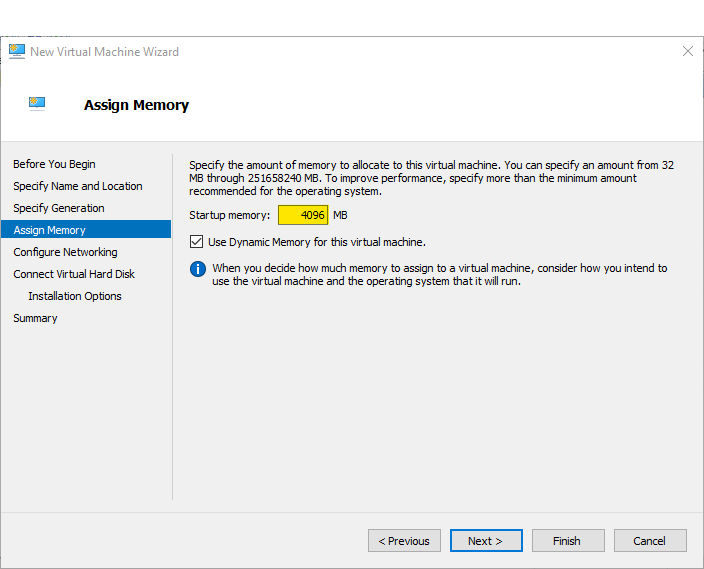
Click the "Next" button. The suggested memory size of 1024 MB is too small, and the minimum requirement for SQL Server ist 2048, but this is very little, too. So you should enter a bit more here, e.g. 4096.
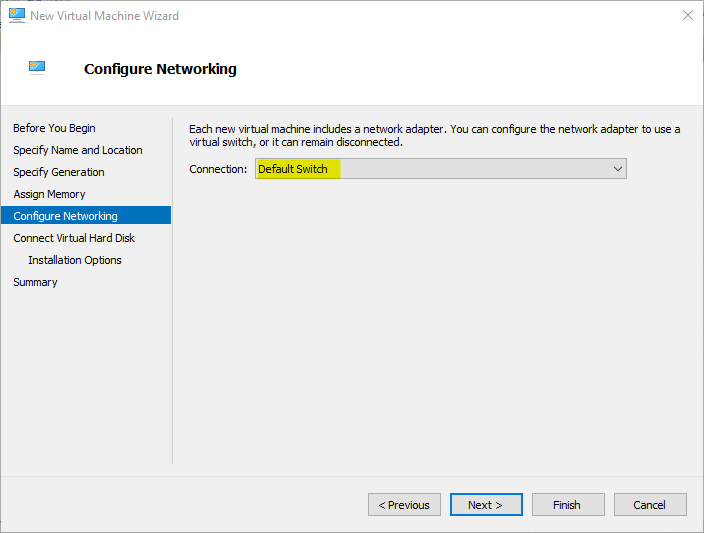
Click the "Next" button. Select "Default Switch" to configure networking.
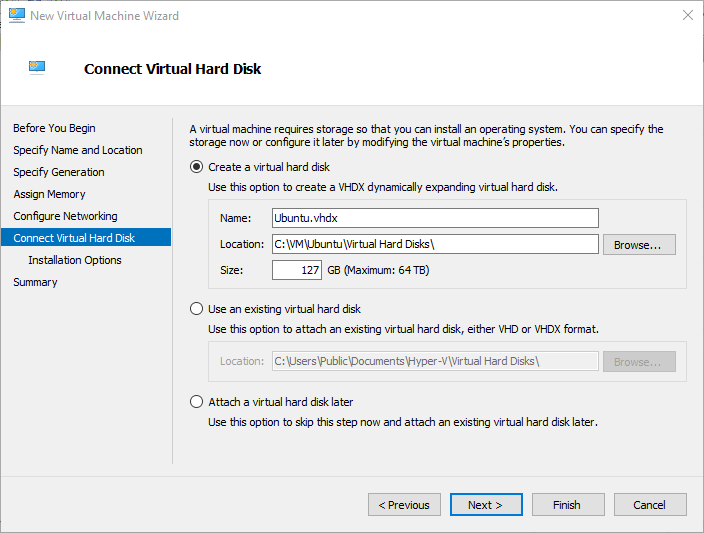
Click the "Next" button. Leave the settings for the virtual hard disk as they are suggested.
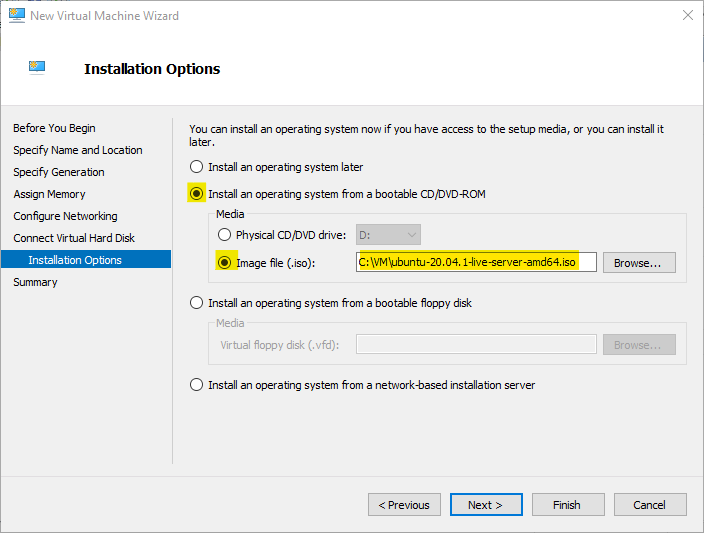
Click the "Next" button. Select "Install an opertaing system from a bootable CD/DVD-ROM", then "Image file (.iso)", and enter the path to the file downloaded above (or click "Browse...", browse to this file and select it).
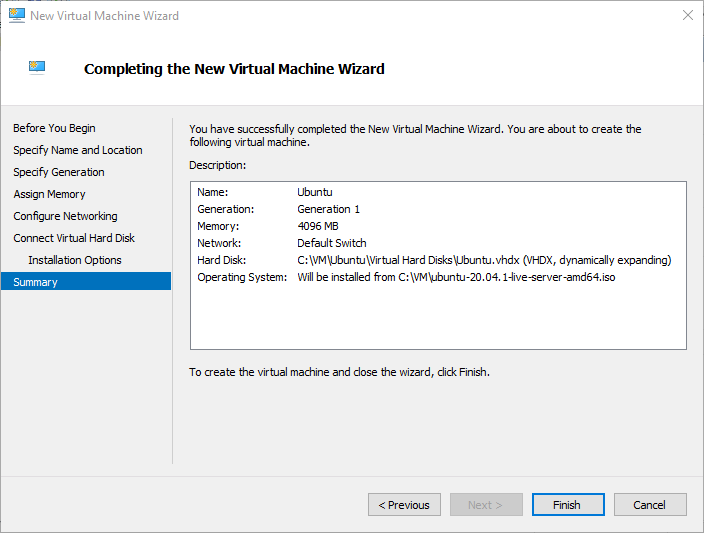
Click the "Next" button, and check the summary.
Install Ubuntu
You can now connect to the virtual machine (don't start it yet, just select the new machine and click "Connect..."). You see a screen like this:
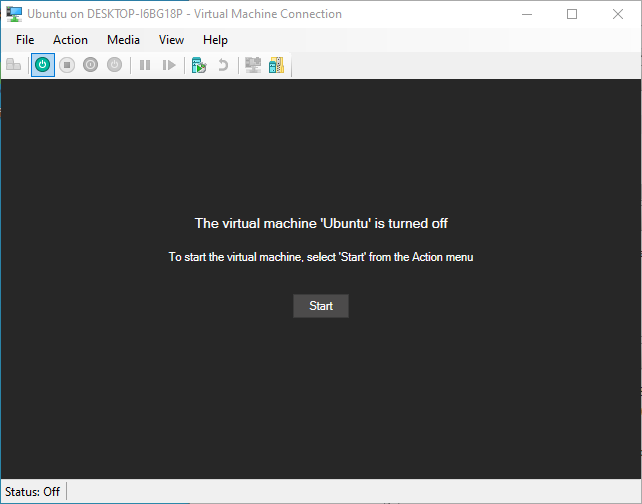
Hit the ENTER key to start the Ubuntu isnstallation. First, select the language for the installation program.
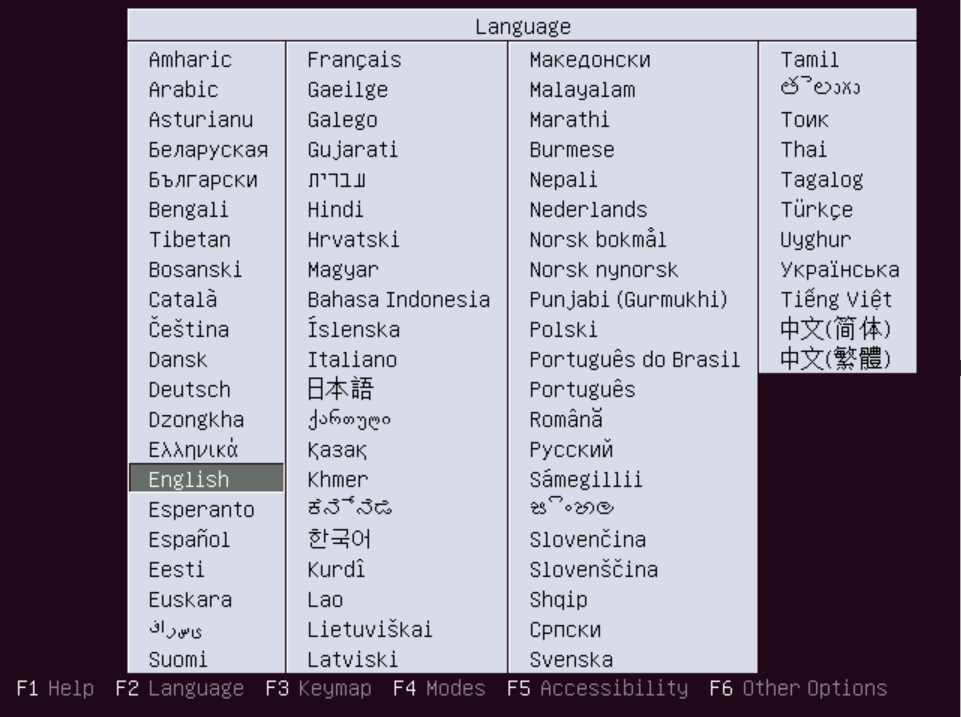
Use the arrow keys to select a language (or leave it on English), and the hit the ENTER key. You reach the start screen.
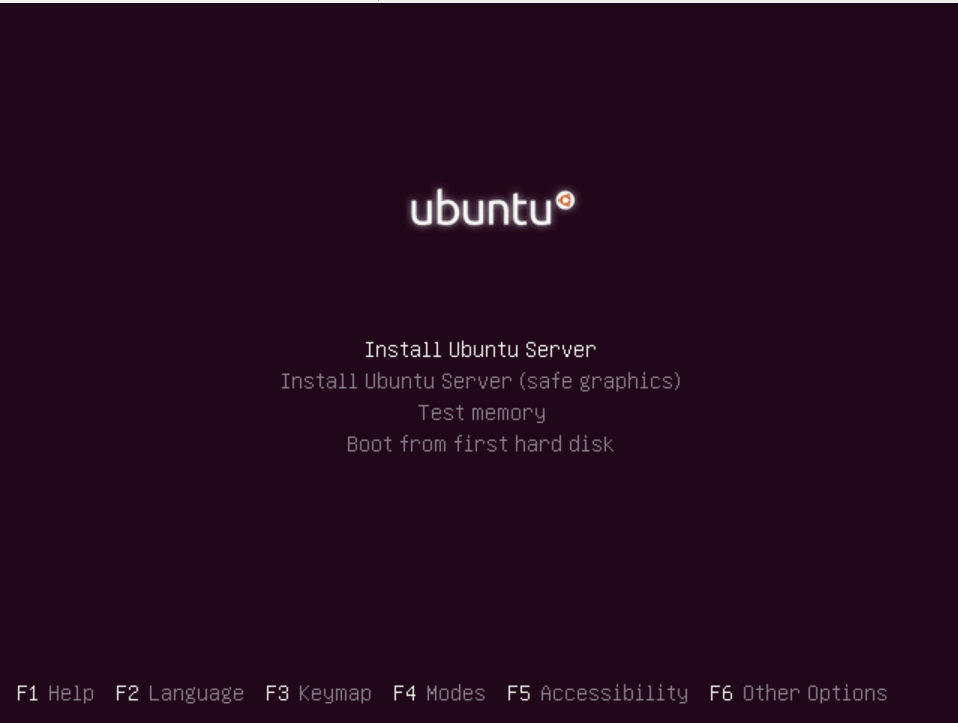
Hit the ENTER key to Install Ubuntu Server. After a while, you get another screen to select the language for the operating system.
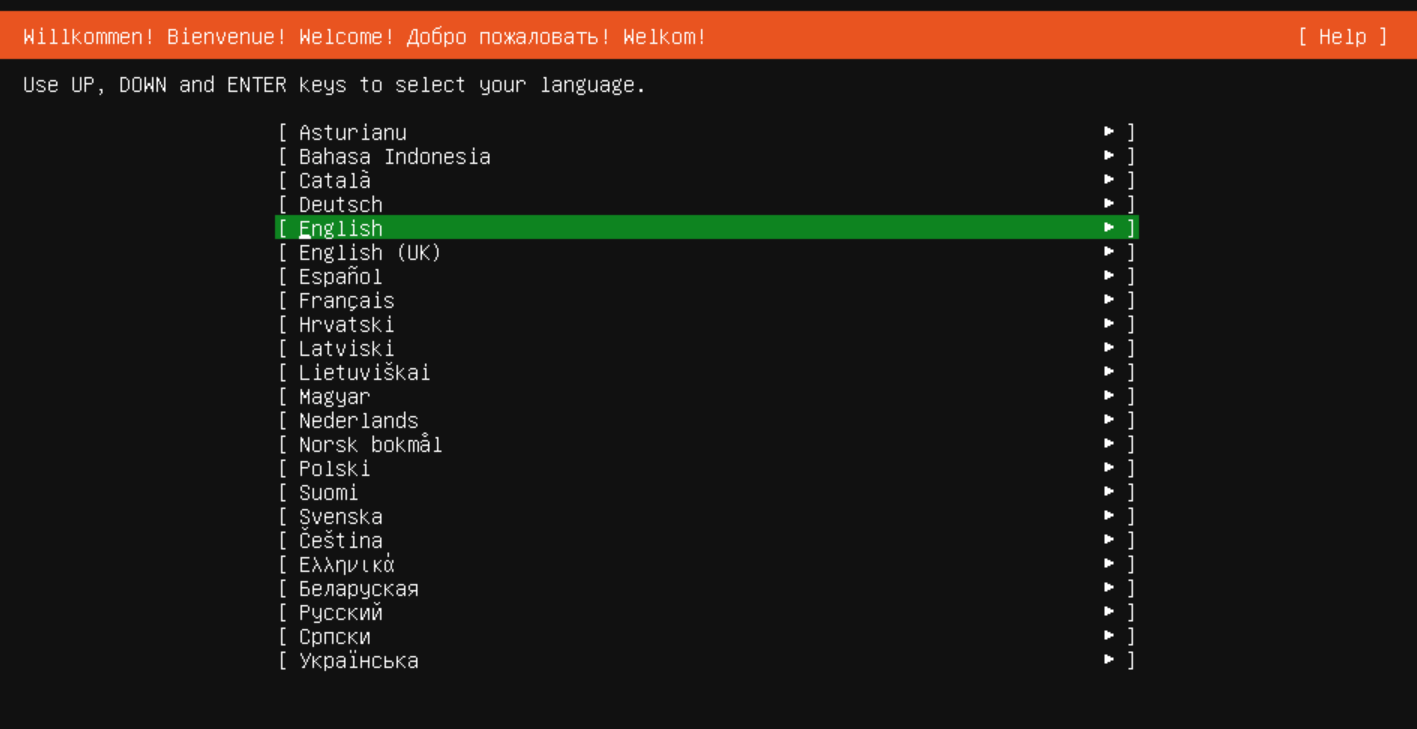
Again, use the UP and DOWN arrows to select the language, and hit the ENTER key when you're done. The next screen asks you if you want to update the installer.
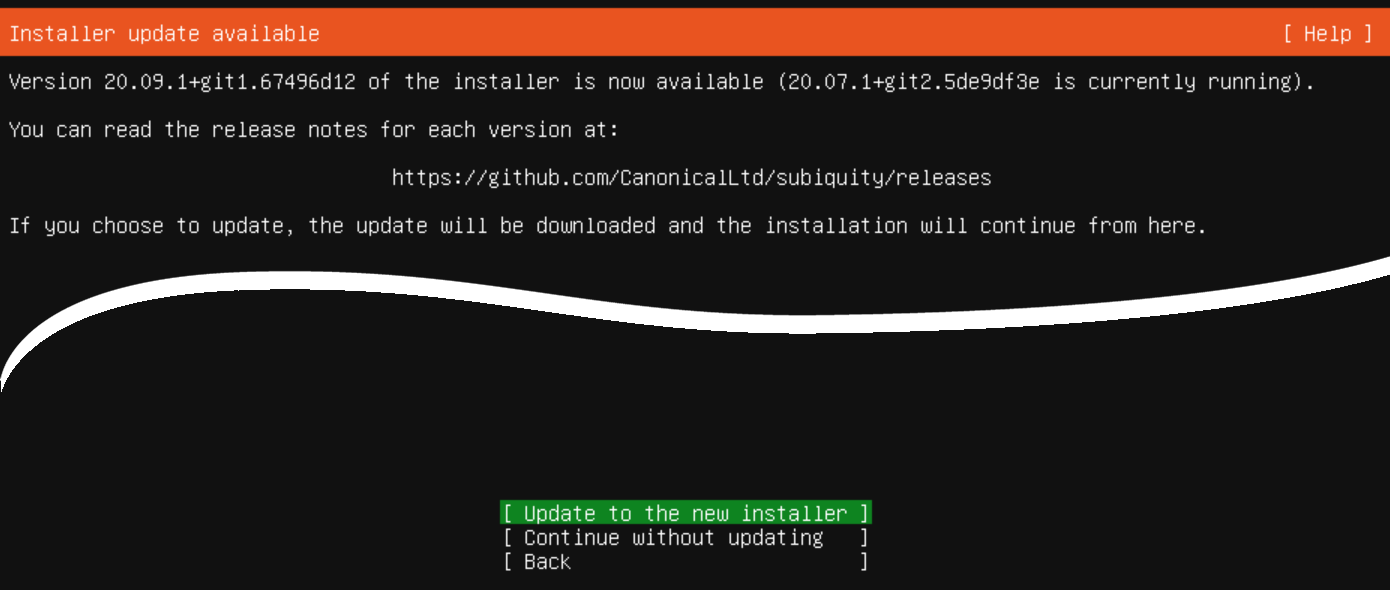
Use the UP and DOWN arrows to select "Update to the new installer" and hit the ENTER key. The installer is getting updated. In the next screen you have to enter your keyboard layout.
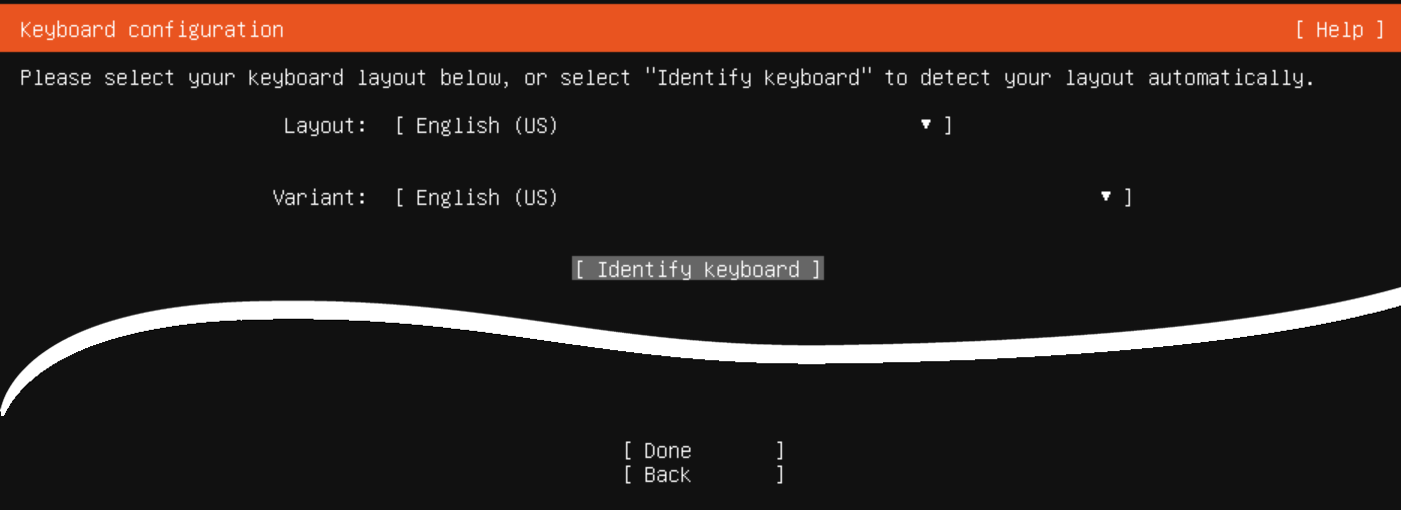
If the suggested keyboard layout does not fit, use the tab key to select "Identify Keyboard", hit the ENTER key and follow the instructions to get your keyboard configured correctly. select "Done" and hit the ENTER key when the keyboard is set correctly. Next step is configuring the network connections.

The suggested options are OK, so hit the ENTER key to continue to the proxy selection.
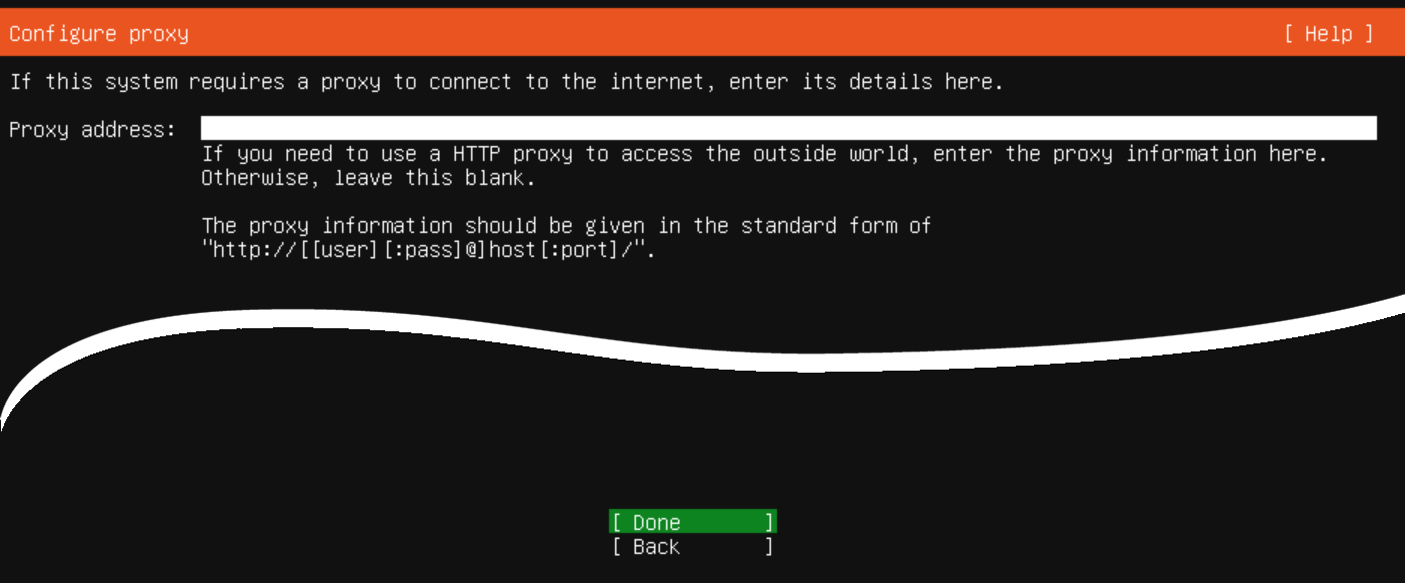
If you use a proxy, enter the address there, otherwise leave it empty. Use the TAB key to select "Done" and hit the ENTER key. Next configure the Ubuntu archive mirror.
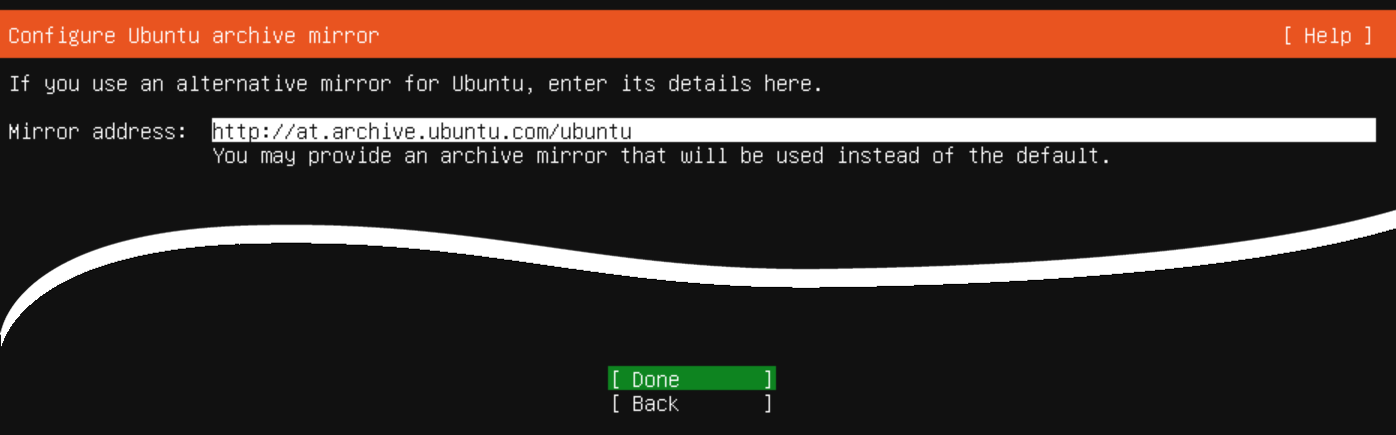
The suggested address is OK, so hit the ENTER key. This brings you to the Guided storage configuration screen.
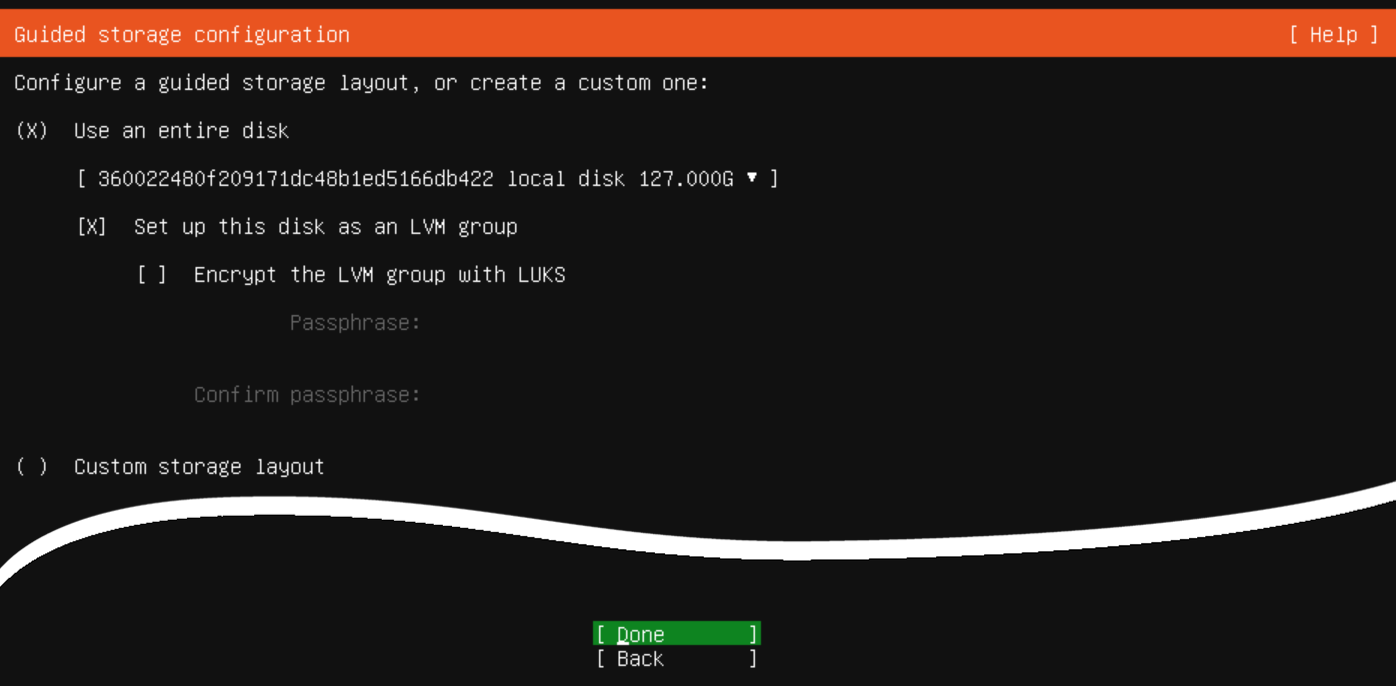
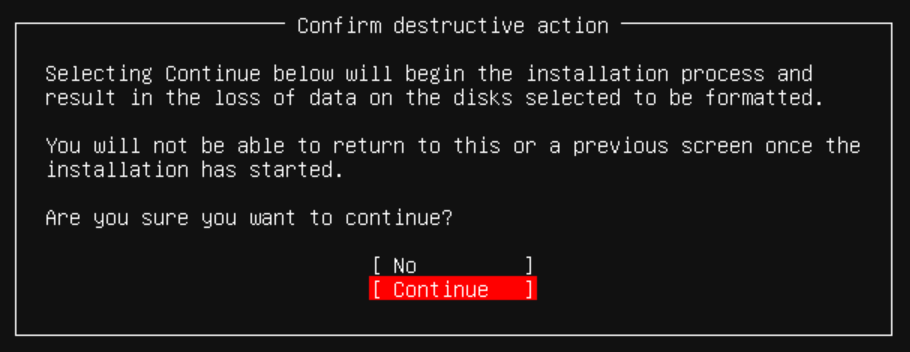
Also here, the suggestion is OK, use the TAB key to navite to "Done" and hit the ENTER key. You get a acreen with a summary of the storage configuration, again select "Done" and hit the ENTER key, and confirm the following question by nagigating to "Continue" and press the ENTER key.
In the next screen, enter your name, server name, user name and choose a password. For the server and user names, only lowercase letters (a-z), numbers (0-9) and the dash and underscore characters are allowed.
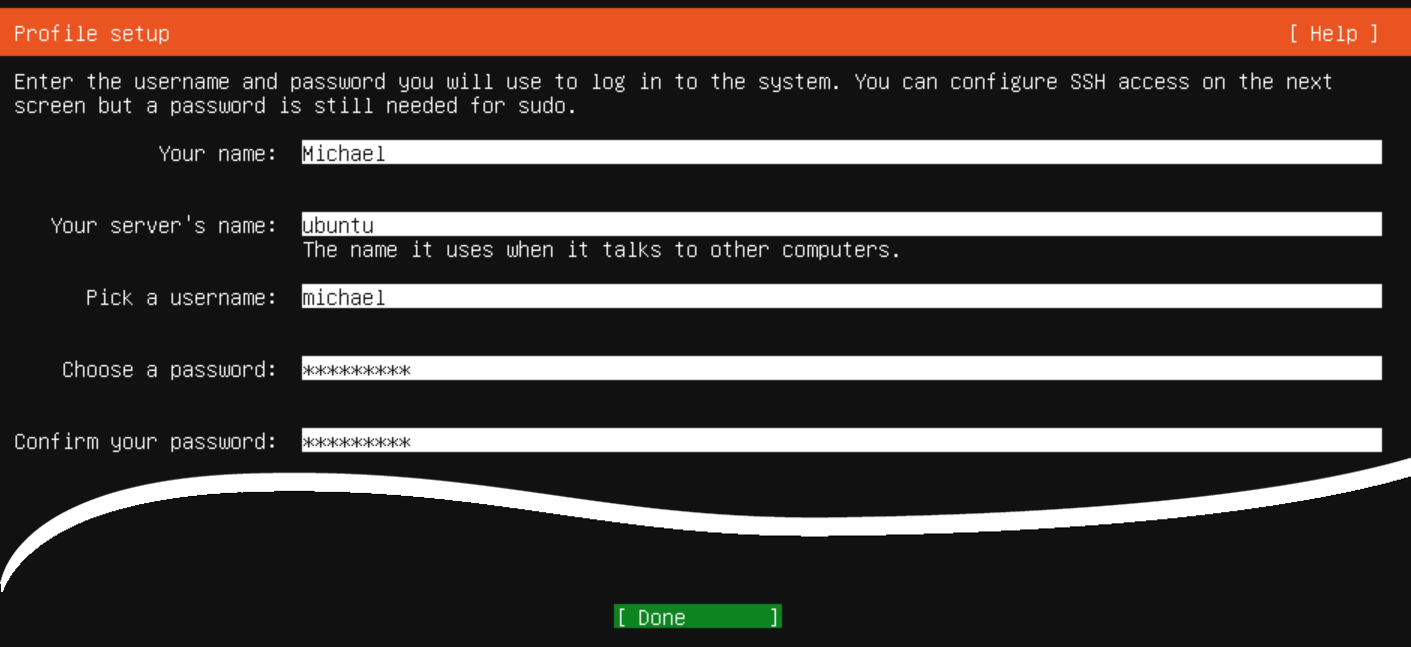
When you're done select "Done" and hit the ENTER key. The next screen asks you for the SSH setup, as we are using this only for testing purposes on a virtual machine we can leave it as it is not installing OpenSSH server) and continue. Also the next screen ("Featured Server Snaps") does not need any attention for now, just leave the boxes unchecked and go on. The installation is finishing and applying security updates. Wait until everything is done.
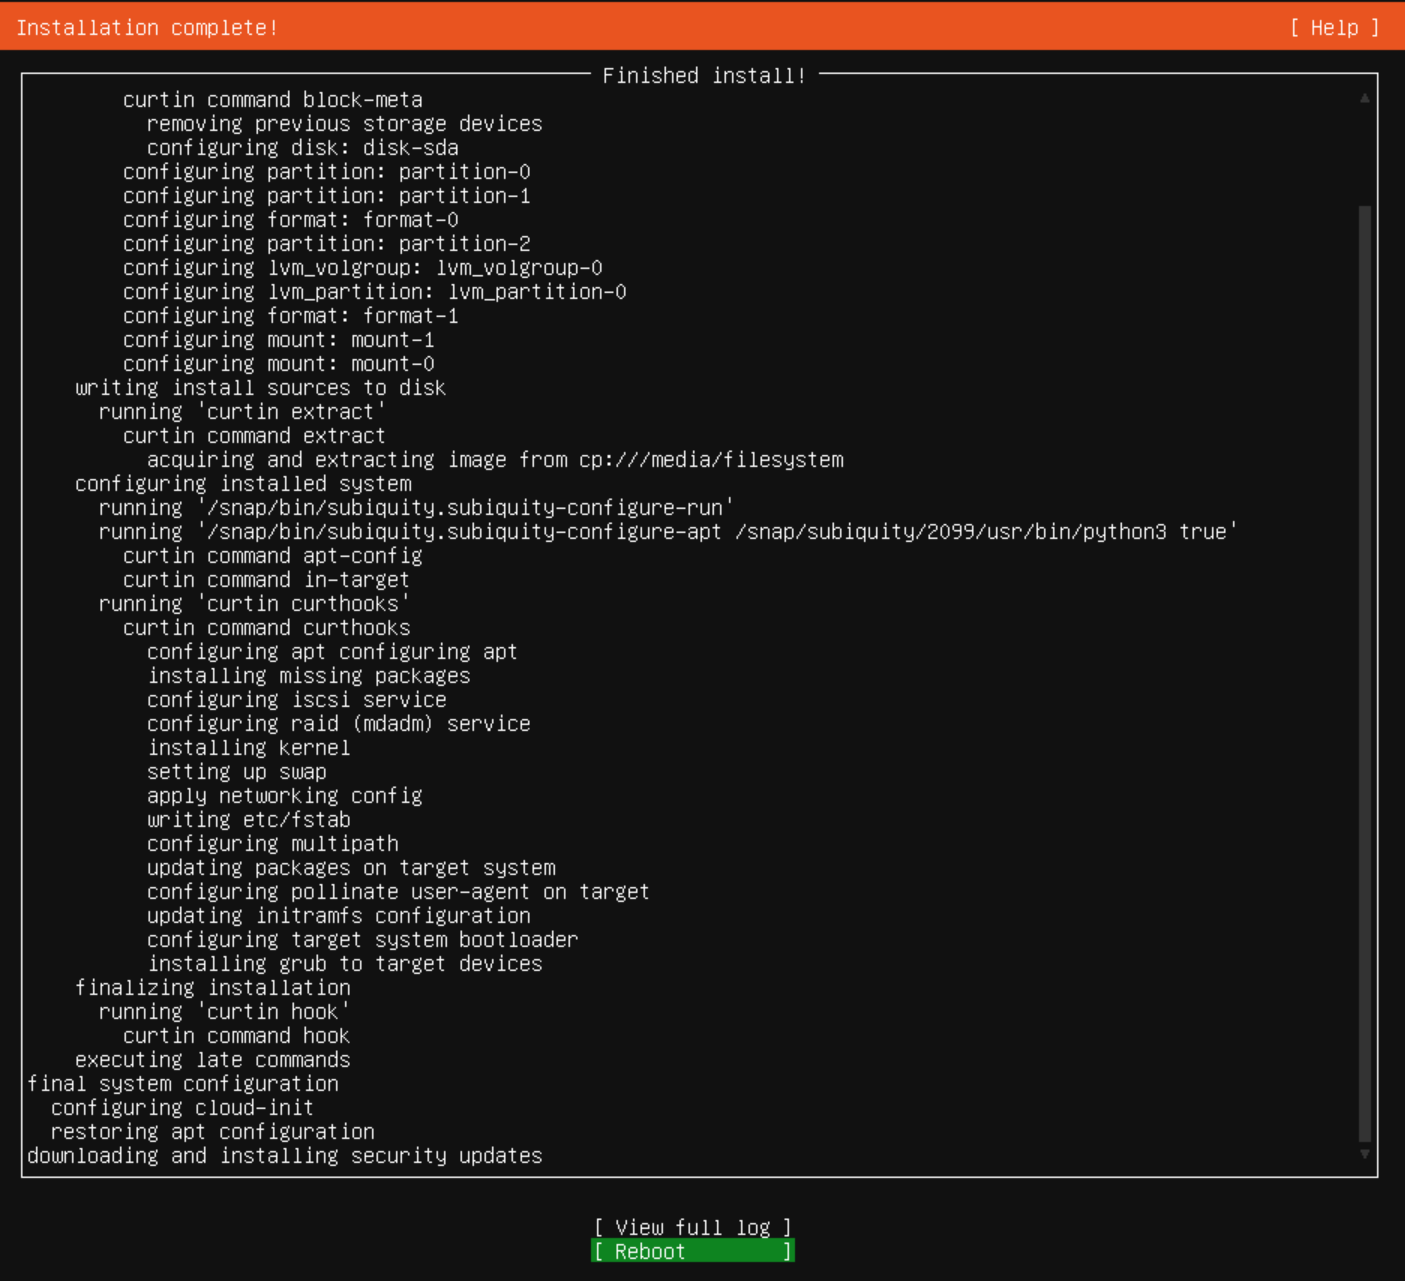
Hit the ENTER key to reboot the server. You might end up in a screen that tells you that the CD ROM cannot be unmounted. Just wait a minute, and press CTRL+C, the server will reboot. Wait until everything is done, the last line after reboot will tell you
Reached target Cloud-init target.
Hit the enter key to get the login prompt, enter your user name and password - and there we are.
Finally, two commands that you may need:
logout logs you out from the serversudo shutdown -h now shuts down the server (after you entered your correct passord)
Installing SQL Server 2019
To install SQL Server 2019 on Ubuntu Server 20.04, you have to run the following commands from the console ("bash"). This will install the mssql-server package.
Note: bash commands are case sensitive, so type them exactly as they are written here.
Step 1: Import the public repository GPG keys
wget -qO- https://packages.microsoft.com/keys/microsoft.asc | sudo apt-key add -
Step 2: Register the Microsoft SQL Server Ubuntu repository for SQL Server 2019
sudo add-apt-repository "$(wget -qO- https://packages.microsoft.com/config/ubuntu/18.04/mssql-server-2019.list)"
Note: This command for SQL Server 2019 points to the Ubuntu 18.04 repository. If you are using Ubuntu 16.04, change the path to /ubuntu/16.04/ instead of /ubuntu/18.04/ (also in the commands below).
Normally you would expect to point to a 20.04 repository - but there is none (yet?). Anyway, it works with the 18.04 repository on Ubuntu server 20.04.
Step 3: Install SQL Server
Run these two commands to install the necessary packages:
sudo apt-get update

sudo apt-get install -y mssql-server
After this, you have to run the following command to complete the installation:
sudo /opt/mssql/bin/mssql-conf setup
You will be prompted to choose your edition (2 or 3 is a good option), accept the license terms (type "Yes") and set the SA password.
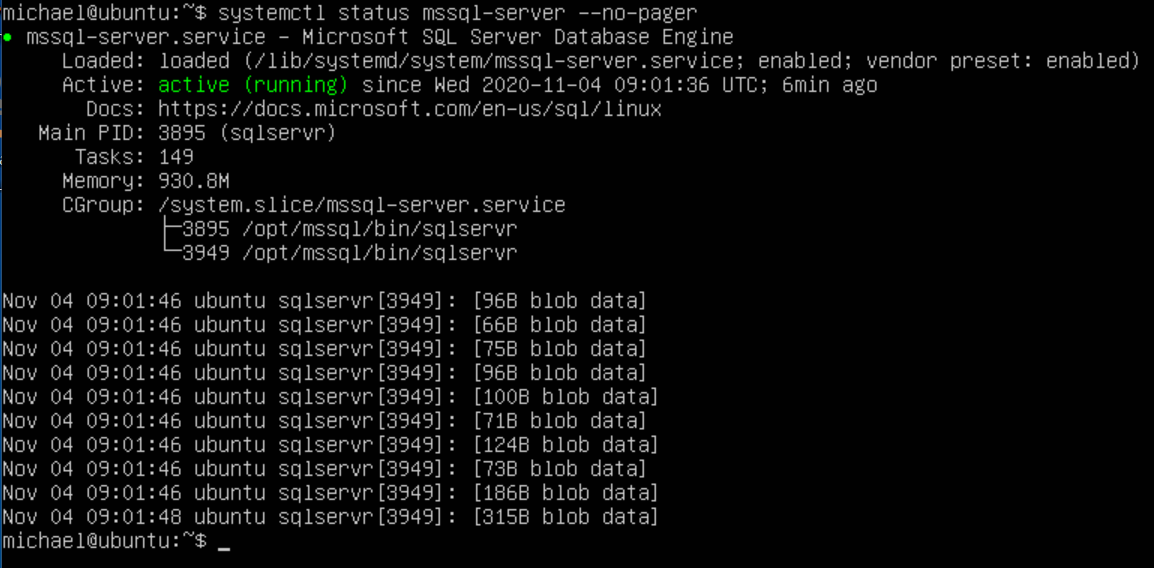
Step 4: Verify that the service is running
systemctl status mssql-server --no-pager
Using SQL Server 2019 on Ubuntu from a Windows machine
First thing we have to know is the IP address of our Ubuntu Server. The following command displays it:
ip addr show

You can now open the file "hosts" (without any extension) in the folder "C:\Windows\System32\drivers\etc" and add the following line:
172.26.173.147 ubuntu
This will enable you to use a name ("ubuntu") for the machine, instead of the IP address.
Note: Of course you have to use the IP address displayed in your server installation.
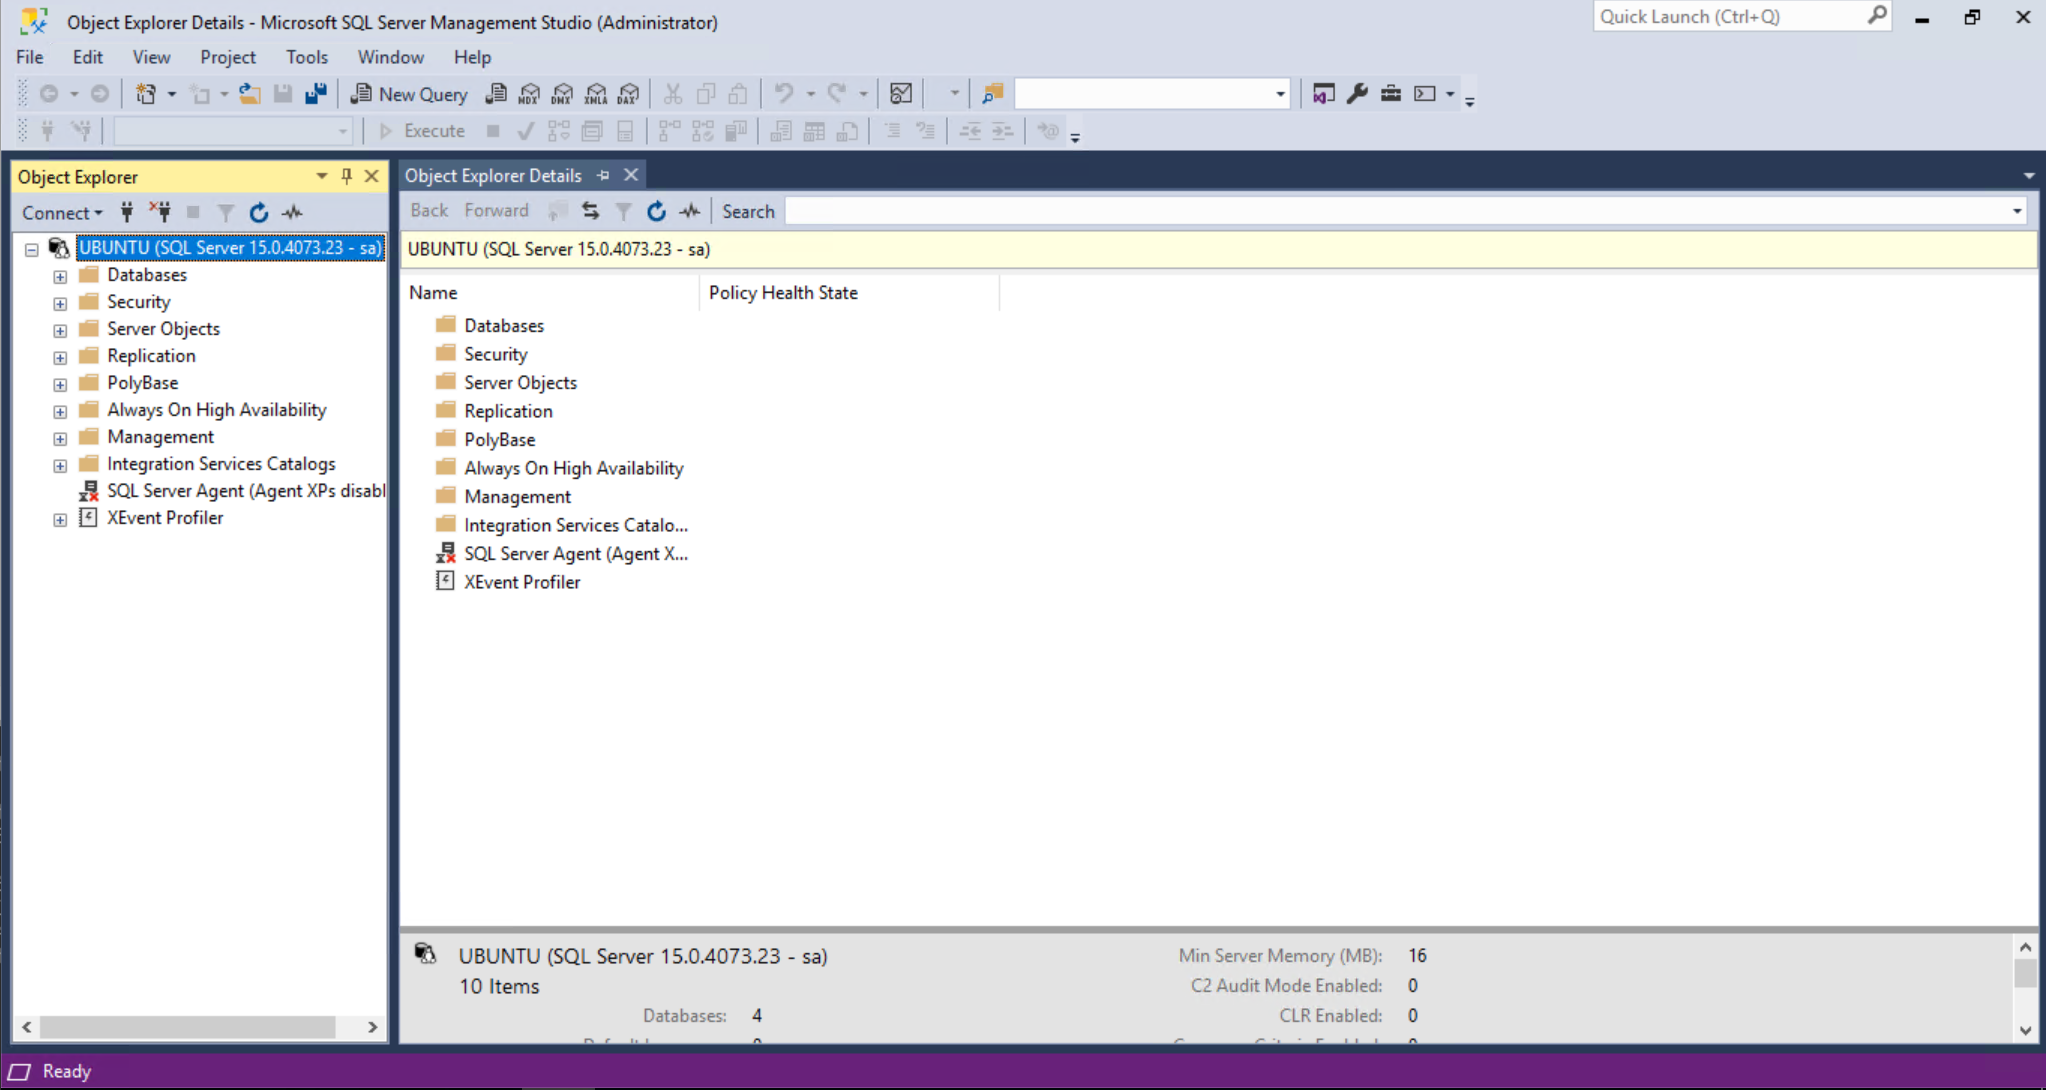
We can now start SQL Server Management Studio (SSMS) and connect to the Ubuntu Server.
Install DNN
We can now start installing DNN - as we are used to do it.
- If not already done so: Add the Web Server (IIS) role to your Windows machine
- Open SSMS, connect to the Ubuntu Server and create a new database (let's call it "DNN")
- Create a new login for the database:
- Let's call it "DNN_Service"
- Use SQL Server Authentication
- Enter and confirm a password
- Deactivate "Enforce Password Policy"
- Select the database "DNN" as the default database
- In User Mappings, assign db_owner to this account for the DNN database
- Create a folder where you want to install DNN, e.g. "C:\Web\Ubuntu"
- Open IIS Manager and create a new application pool, let's call it "UbuntuAppPool"
- Assign "Modify" permissions to the folder created above (only for the "Ubuntu" folder)
- In IIS Manager, create a new web site:
- Call it "Ubuntu", and assign the previously generated application pool
- Enter the folder created above as the Physical path ("C:\Web\Ubuntu")
- Enter a hostname, e.g. "ubuntu.dnndev.me"
- Unblock the downloaded ZIP file (DNN Installation Package)
- Extract the installation package into the folder created above
- In IIS Manager, go to the web site, double-click "Authentication", select "Anonymous Authenication". Click "Edit" and select the option "Application Pool Identity"
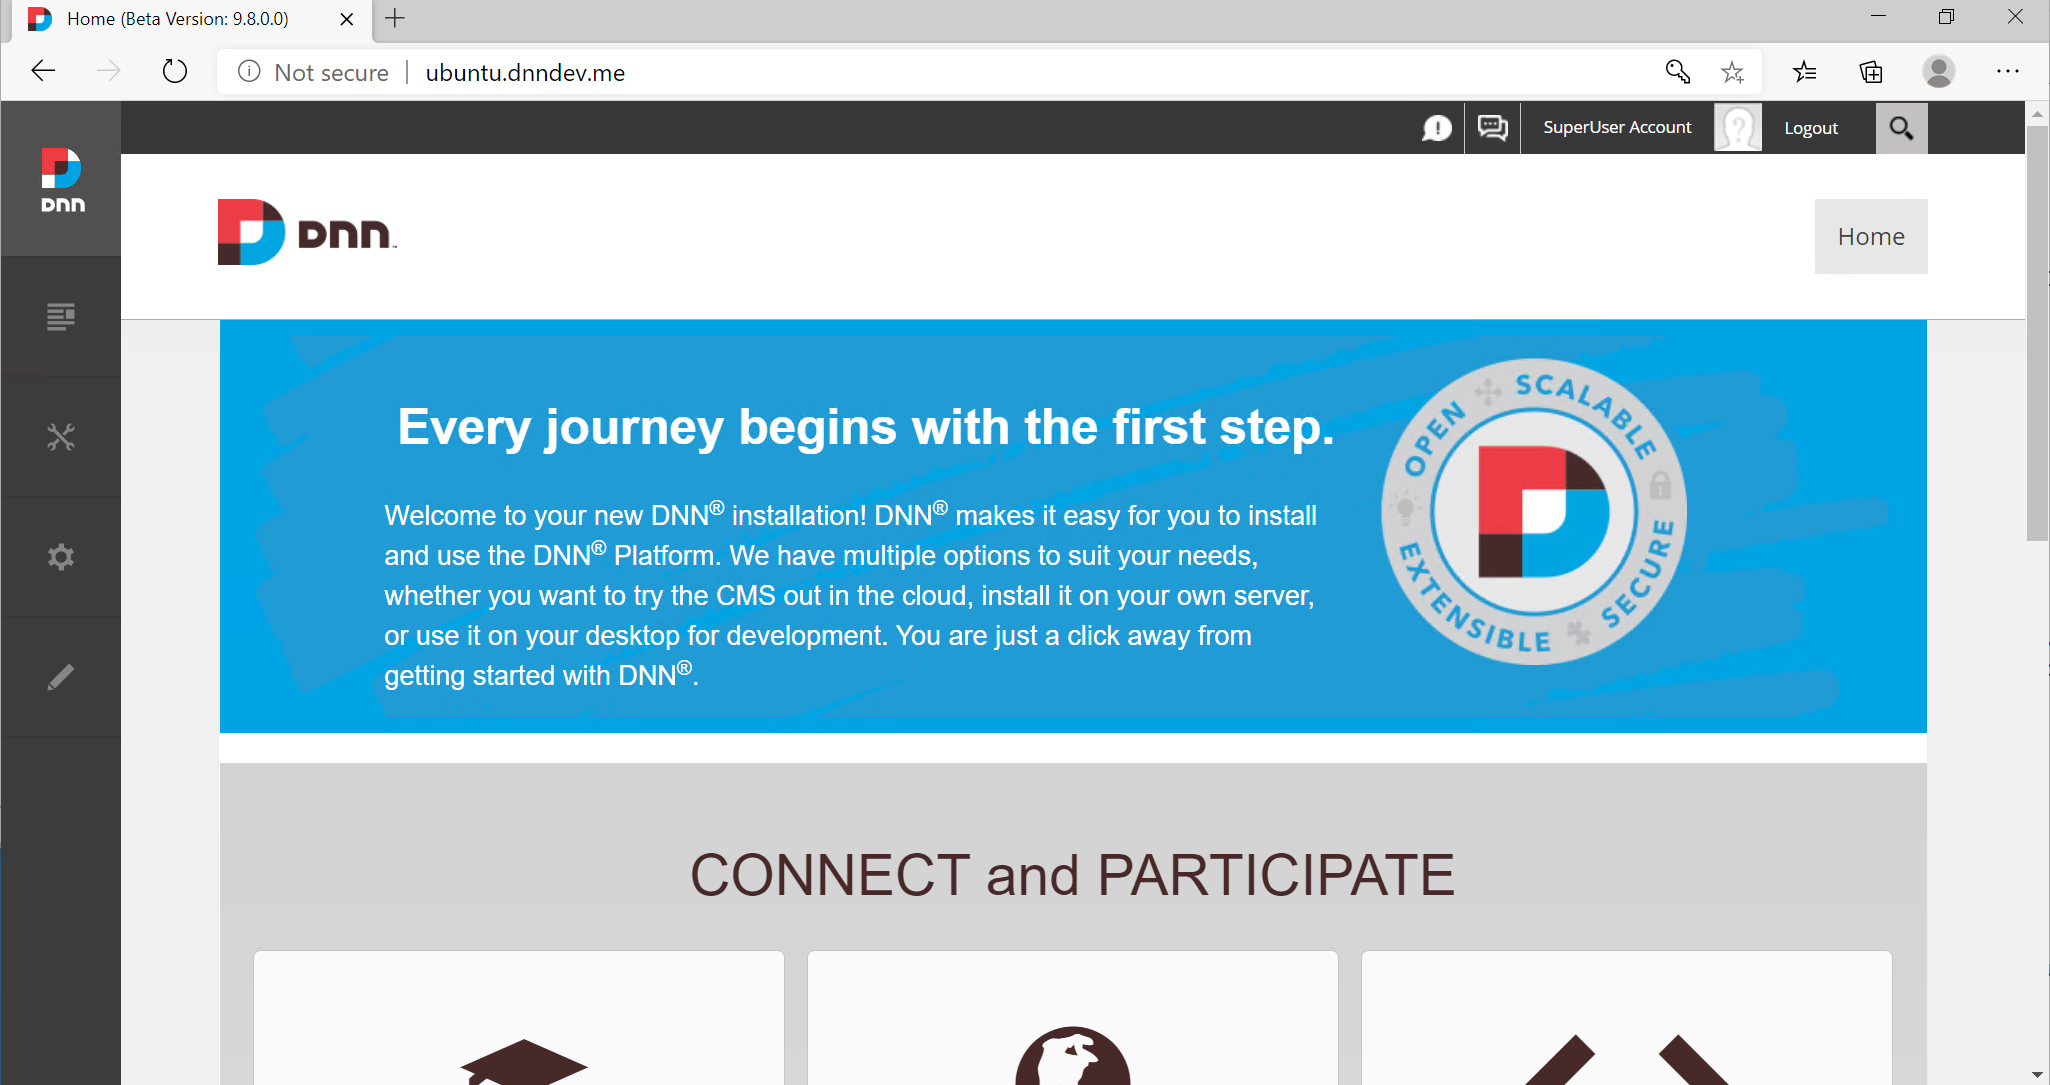
- Start a browser and navigate to "http://ubuntu.dnndev.me"
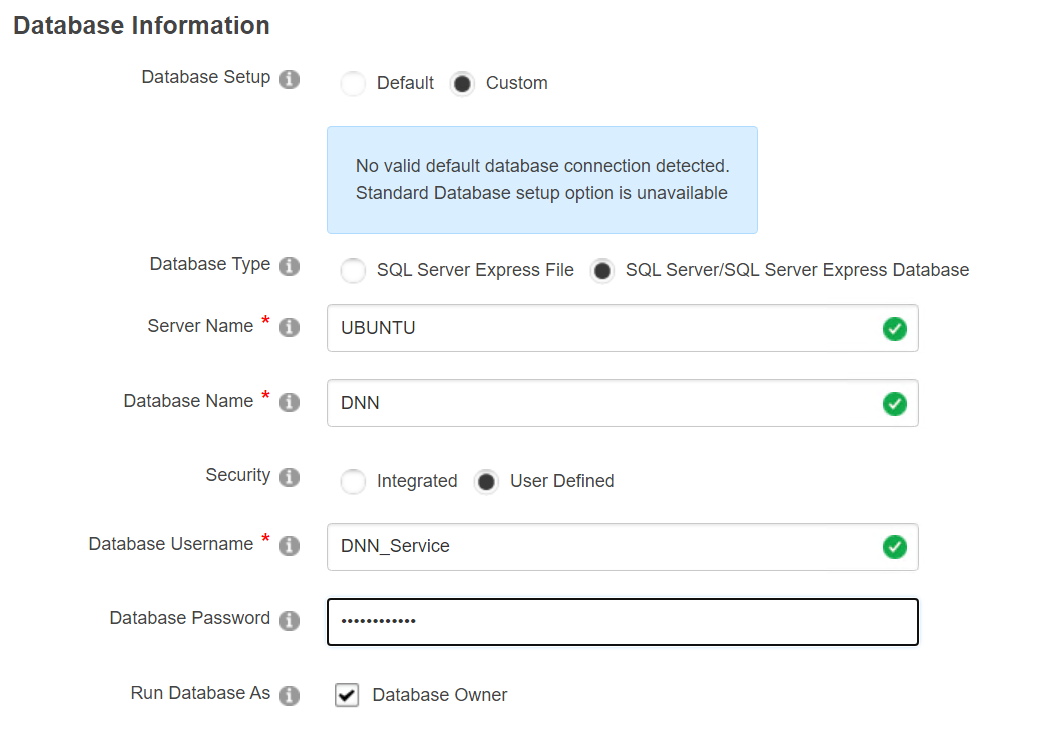
- Fill the installation form. The interesting part is the Database Information.
- Database Setup: Custom
- Database Type: SQL Server/SQL Server Express Database
- Server Name: UBUNTU
- Database Name: DNN
- Security: User defined
- Database Username: DNN_Service
- Database Password: MySecret#123
- Run Database As: Database Owner (checked)
That's it... DNN is now running on an SQL Server database that is installed on a Ubuntu Server.
Note: This is just a configuration in a testing environment. For a production environment, it needs much more to secure the web site. Please be aware of the fact that I do not have installed something like this in a production environment yet. It was just playing around with the possibilities.